Getting started with Hugo
What could be better than writing about the very software that powers this blog. I’m talking about the “world’s fastest framework for building websites” Hugo.
Why Hugo
In search for a solution to power a small blog with little to no required configuration, I was looking into different CMS and site generators. The following criterias had to be met:
- static site (my server is a little chicken)
- FOSS (it’s just a beautiful word, idk what it means)
- easy setup and configuration, please
- write content in markdown or any easy markup
When I took a look at Hugo I was immediately intrigued. Hugo is written in Go, and not a JS or PHP framework like most other contenders. But here is where it really shines: It is super easy to install and you get content running within seconds. All that is needed is a single binary that setups a development server or publishes content to the production server.
Getting started
Following steps show its simplicity (see also the hugo quickstart).
1. Install
| |
Check out gohugo.io for more installation instructions if you are not in a Debian environment or want to get the latest version.
2. Create new site
| |
Congratulations! Your new Hugo site is created in /home/dominique/mynewsite.

Just a few more steps and you're ready to go:

1. Download a theme into the same-named folder.
   Choose a theme from https://themes.gohugo.io/ or
   create your own with the "hugo new theme <THEMENAME>" command.
2. Perhaps you want to add some content. You can add single files
   with "hugo new <SECTIONNAME>/<FILENAME>.<FORMAT>".
3. Start the built-in live server via "hugo server".

Visit https://gohugo.io/ for quickstart guide and full documentation.
Skeleton directory structure:
mynewsite/
├── archetypes/
│   └── default.md
├── config.toml
├── content/
├── data/
├── layouts/
├── static/
└── themes/
3. Change into the skeleton directory
| |
4. Install theme
Go to themes.gohugo.io to choose between many
themes. I chose the beautiful
Anubis theme that we download
into the themes/anubis directory:
| |
5. Add theme to site configuration config.toml
| |
| |
6. Start development server
| |
Visiting the default development page http://localhost:1313 renders following
page:

7. Now we can start adding some content
Leaving the server running will give us live updates of our changes.
Let’s create the content/posts directory and add the file
content/posts/hitchhiker.md
| |
| |
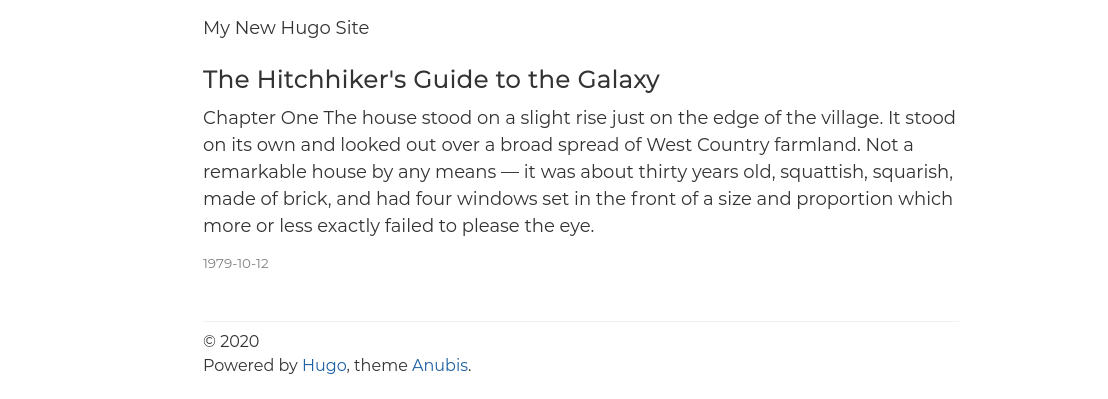
When we save the file our webpage automagically updates:

Adding site navigation
Adding top navigation is as simple as editing the configuration file config.toml
| |
| |
Thanks to the theme support this will automatically create menu items for tags and posts listings.
Now we originally didn’t add any tags to our blog post, so let’s add following
line to the header of content/posts/hitchhiker.md
| |
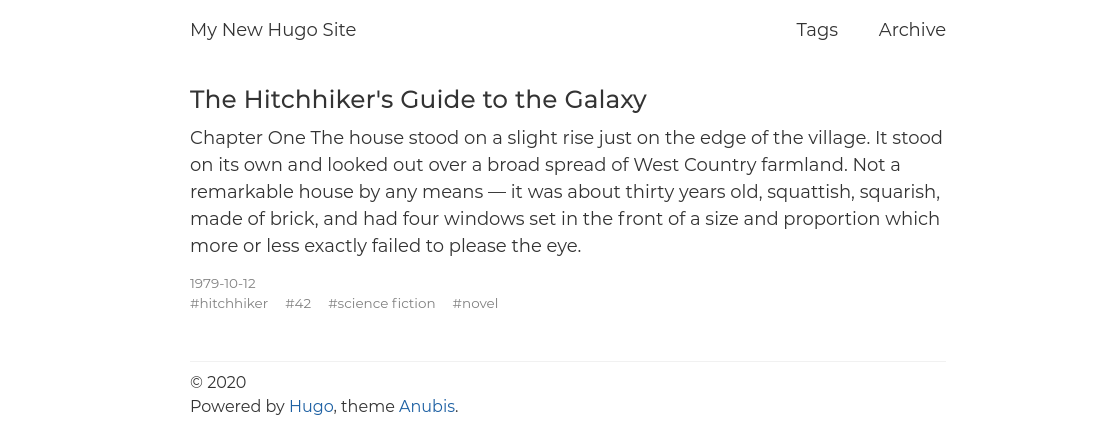
And our page updates with a navigation bar, subpages for all tags, a tags
overview and an article overview.

Check out the exampleSite/ directory of the Anubis theme to see a small
example what can be done.
If this theme is too simplistic for you then the Academic theme as “the website builder for Hugo” is definitely worth checking out.
Deploying
To generate static pages for your hosted website, just run following command
with the optional --minify switch to reduce the size of generated files — and
therefore generated traffic.
| |
If you manage your site with git you can setup git-hooks to automatically deploy your site on changes.
Apache2
| |
Nginx
| |
What’s next?
This article described how to get Hugo running and setup a simple page. In a next step I will cover how to integrate the commenting system remark42 into the site.